Malaysian Cuisine
Roti Canai
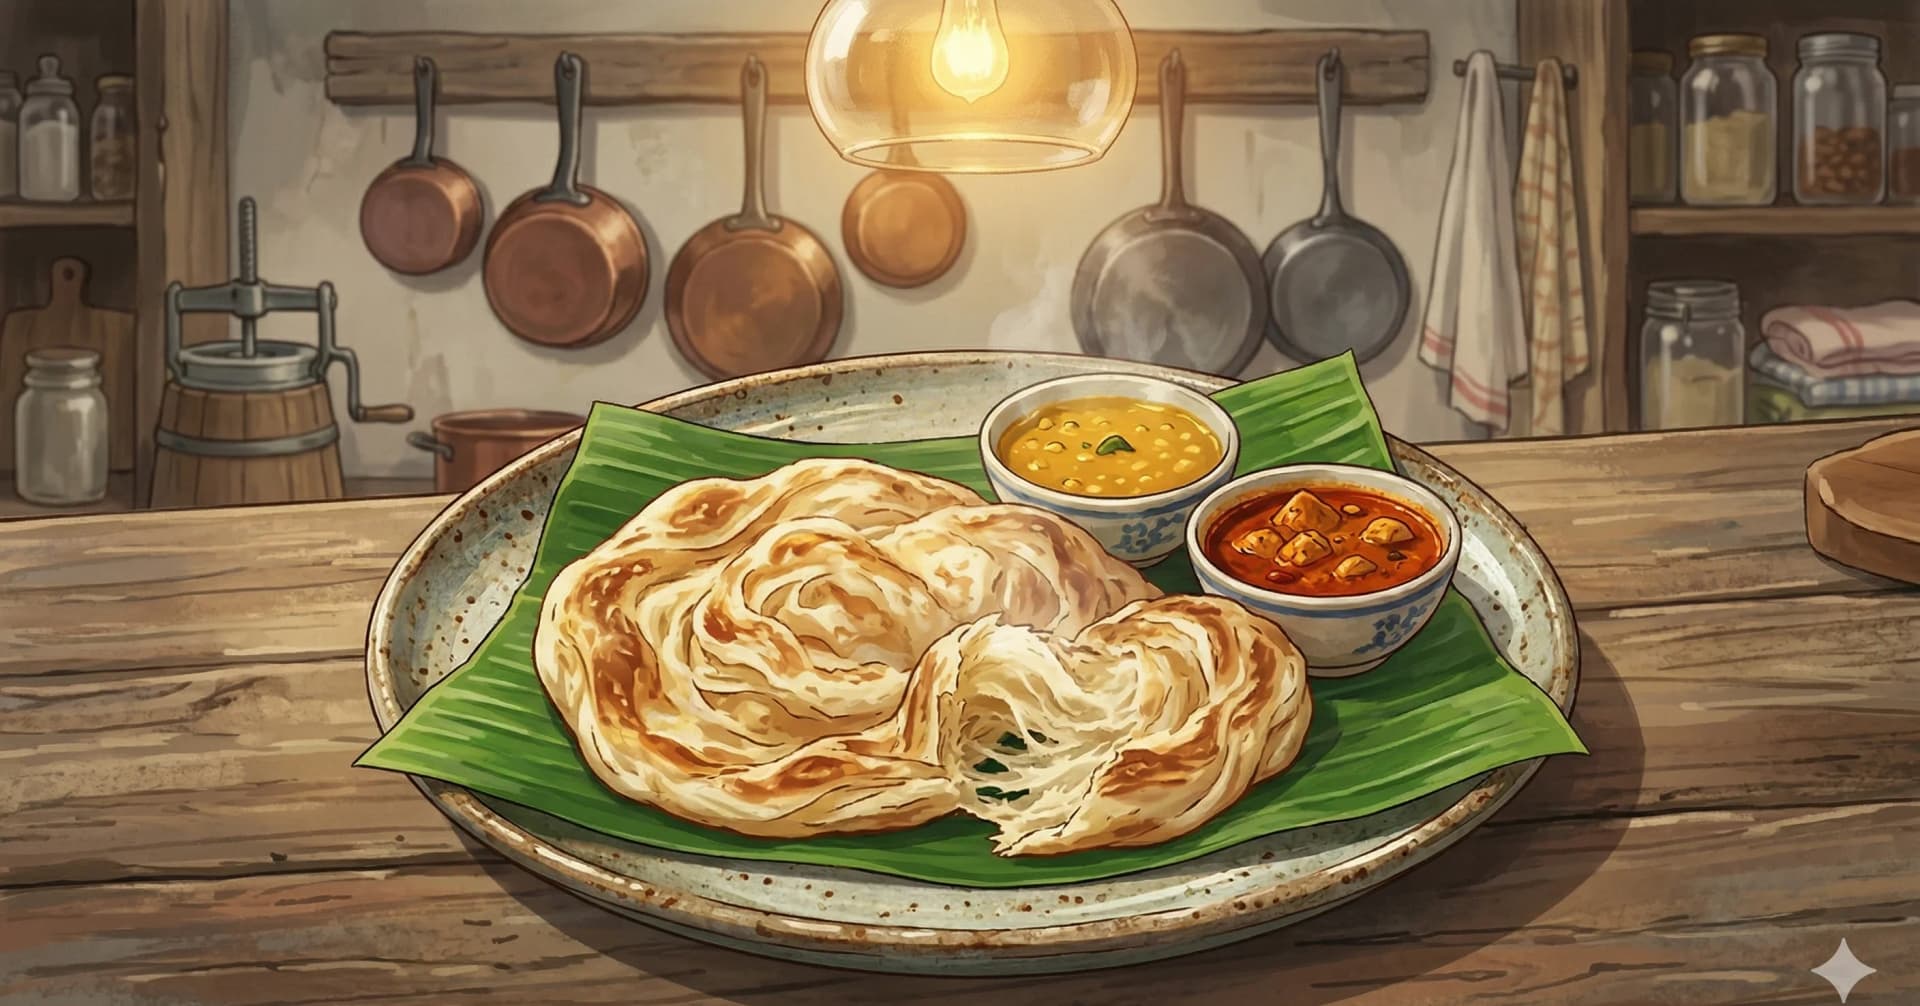
Flaky, layered flatbread stretched paper-thin and cooked on a hot griddle until golden and crisp
You hear roti canai before you see it. The rhythmic slapping of dough against a steel countertop, stretched and folded, stretched and folded, is one of the most recognizable sounds of a Malaysian mamak stall. Then comes the sizzle as the flattened dough hits an oiled griddle, and within minutes you are holding a piece of bread so flaky it shatters at the edges while the center stays soft, warm, and impossibly layered. Tear it open and you will see dozens of paper-thin sheets stacked inside, each one separated by a whisper of ghee.
Roti canai traces its lineage to the Indian flatbread traditions brought to Malaysia by Tamil Muslim immigrants, the mamak community that runs the open-air restaurants found on nearly every Malaysian street corner. The technique borrows from South Indian parotta, where dough is stretched, coiled, and flattened to create layers, but Malaysian roti canai has evolved into its own thing entirely. It is lighter, crispier at the edges, and softer in the center than most Indian parottas. The dough typically includes a touch of condensed milk, which adds a faint sweetness and helps the browning, and ghee rather than oil, which contributes the rich, nutty aroma that defines the bread.
What roti canai delivers is textural pleasure. The outside should be golden and lightly crisp, the inside pillowy and layered. It is traditionally eaten by tearing off pieces and dipping into a bowl of dhal or a saucer of sambal, though many Malaysians enjoy it plain with sugar or stuffed with egg, banana, or cheese. The stretching technique takes a few attempts to master, but even imperfect roti canai tastes remarkable.
At a Glance
Yield
8 pieces
Prep
30 minutes (plus 4 hours resting)
Cook
25 minutes
Total
5 hours
Difficulty
Medium
Ingredients
Method
- 1
Combine the flour and salt in a large bowl. Make a well in the center. Add the egg, condensed milk, melted ghee, and about two-thirds of the water. Mix with your hand or a wooden spoon, gradually adding the remaining water until a shaggy dough forms. You may not need all the water, or you may need a splash more. The dough should feel slightly sticky but pull away from the sides of the bowl.
- 2
Turn the dough onto a clean, lightly floured surface and knead for 8 to 10 minutes. The dough will start rough and tacky, then gradually become smooth, elastic, and almost silky. It should stretch when pulled without tearing immediately. If it resists stretching, let it rest for 5 minutes, then continue. The gluten needs time to relax.
- 3
Divide the dough into 8 equal portions, about 80 g each. Roll each into a smooth ball. Coat each ball generously with melted ghee, rolling them in your palms until slick. Place them in a container, cover tightly, and let rest at room temperature for at least 4 hours, or overnight in the refrigerator. This long rest is essential. It relaxes the gluten completely, making the dough extensible enough to stretch paper-thin without tearing.
- 4
When ready to cook, prepare a clean, smooth work surface. Oil it lightly with ghee. Take one dough ball and press it flat with your palm into a rough disc.
- 5
Using both hands, pick up the dough disc and begin stretching it by draping it over the backs of your fists. Gently pull your fists apart, rotating the dough as you go, letting gravity help thin the center. The dough should stretch into a translucent sheet so thin you can see the surface beneath it. Small tears are fine and will not affect the final bread. If the dough resists or snaps back, let it rest for 2 minutes, then try again.
- 6
Lay the stretched sheet flat on the oiled surface. Fold the left third over the center, then the right third over that, forming a long rectangle. Now fold the top third down and the bottom third up, creating a rough square with multiple layers. Alternatively, coil the stretched dough into a spiral like a rope rolled into a snail shape, then flatten it. Both methods create layers.
- 7
Gently press or roll the layered square to about 20 cm across and 3 mm thick. Do not press too hard or you will fuse the layers together and lose the flakiness.
- 8
Heat a flat griddle or large heavy skillet over medium-high heat. Add about 1 tablespoon of ghee. When the ghee shimmers and a small piece of dough sizzles on contact, the surface is ready.
- 9
Place the roti on the griddle. Cook for about 2 minutes on the first side. Bubbles will form across the surface and the bottom will turn golden brown with darker spots where the layers puff apart. Drizzle a little ghee around the edges.
- 10
Flip and cook the second side for another 1 to 2 minutes until golden and crispy at the edges. The roti should puff slightly and feel light when you lift it with a spatula.
- 11
Remove the roti from the griddle and immediately scrunch it between your palms, using a quick clapping motion to separate the layers. This step is important. The scrunching breaks apart the internal layers, creating the flaky, airy texture that defines good roti canai.
- 12
Serve immediately with dhal curry, sambal, or a sprinkle of sugar. Roti canai is best eaten within minutes of leaving the griddle, while the outside is still crisp and the layers inside are steaming and tender.
Key Ingredient Benefits
Ghee: Clarified butter with the milk solids removed, ghee has a high smoke point (about 250C) that makes it ideal for griddle cooking. It contains fat-soluble vitamins A, D, E, and K, along with butyrate, a short-chain fatty acid that research suggests may support the integrity of the intestinal lining. In Ayurvedic tradition, ghee is considered one of the most beneficial cooking fats, associated with improved digestion and nutrient absorption.
Condensed milk: Sweetened condensed milk is ubiquitous in Malaysian cooking, appearing in everything from roti canai to teh tarik (pulled tea). A small amount in the dough adds sweetness and encourages browning without making the bread taste sugary.
All-purpose flour: The moderate protein content (10 to 12 percent) of all-purpose flour strikes the right balance for roti canai. Higher-protein bread flour would create too much gluten, making the dough tough and difficult to stretch. Lower-protein cake flour would not develop enough structure to hold the thin layers.
Why This Works
The flakiness of roti canai comes from the same principle that governs puff pastry: thin layers of dough separated by thin layers of fat. When the roti hits the hot griddle, the water in each dough layer turns to steam and pushes the layers apart, while the ghee between them keeps the layers from fusing back together. The more layers you create through stretching and folding, the more pronounced the flaky texture.
The long rest period serves a specific purpose. Freshly kneaded dough has tight, elastic gluten networks that resist stretching. Over 4 hours or more, enzymes called proteases gradually relax these networks, and the gluten strands reorganize into a more extensible arrangement. This is why a well-rested dough can stretch to translucent thinness while a fresh dough tears.
Condensed milk is a distinctly Malaysian addition not found in traditional Indian parotta. It contributes lactose and sucrose, both of which participate in Maillard browning on the griddle surface, giving roti canai its characteristic golden color and faintly sweet aroma. The small amount of fat and protein from the milk also tenderizes the dough slightly.
Scrunching the cooked roti between your palms is not just for show. The mechanical action separates the steam-puffed layers, trapping air between them. Without this step, the layers would settle back against each other as the bread cools, producing a denser, less satisfying texture.
Substitutions & Variations
Ghee: Unsalted butter works but has a lower smoke point and will brown faster on the griddle. Vegetable oil can replace the ghee for a vegan version, though the flavor will be noticeably less rich.
Roti telur (egg roti): After stretching the dough, crack an egg onto the surface, spread it across the dough, fold, and cook as usual. The egg adds richness and a custardy layer inside the bread.
Roti pisang (banana roti): Place sliced banana on the stretched dough before folding. The banana softens and caramelizes during cooking.
Roti tisu: Stretch the dough even thinner than usual, drizzle with condensed milk and sugar, and cook until paper-crisp. It is typically served as a cone-shaped dessert roti.
Whole wheat version: Replace up to half the all-purpose flour with whole wheat flour. The roti will be slightly denser and less stretchy but more nutritious.
Serving Suggestions
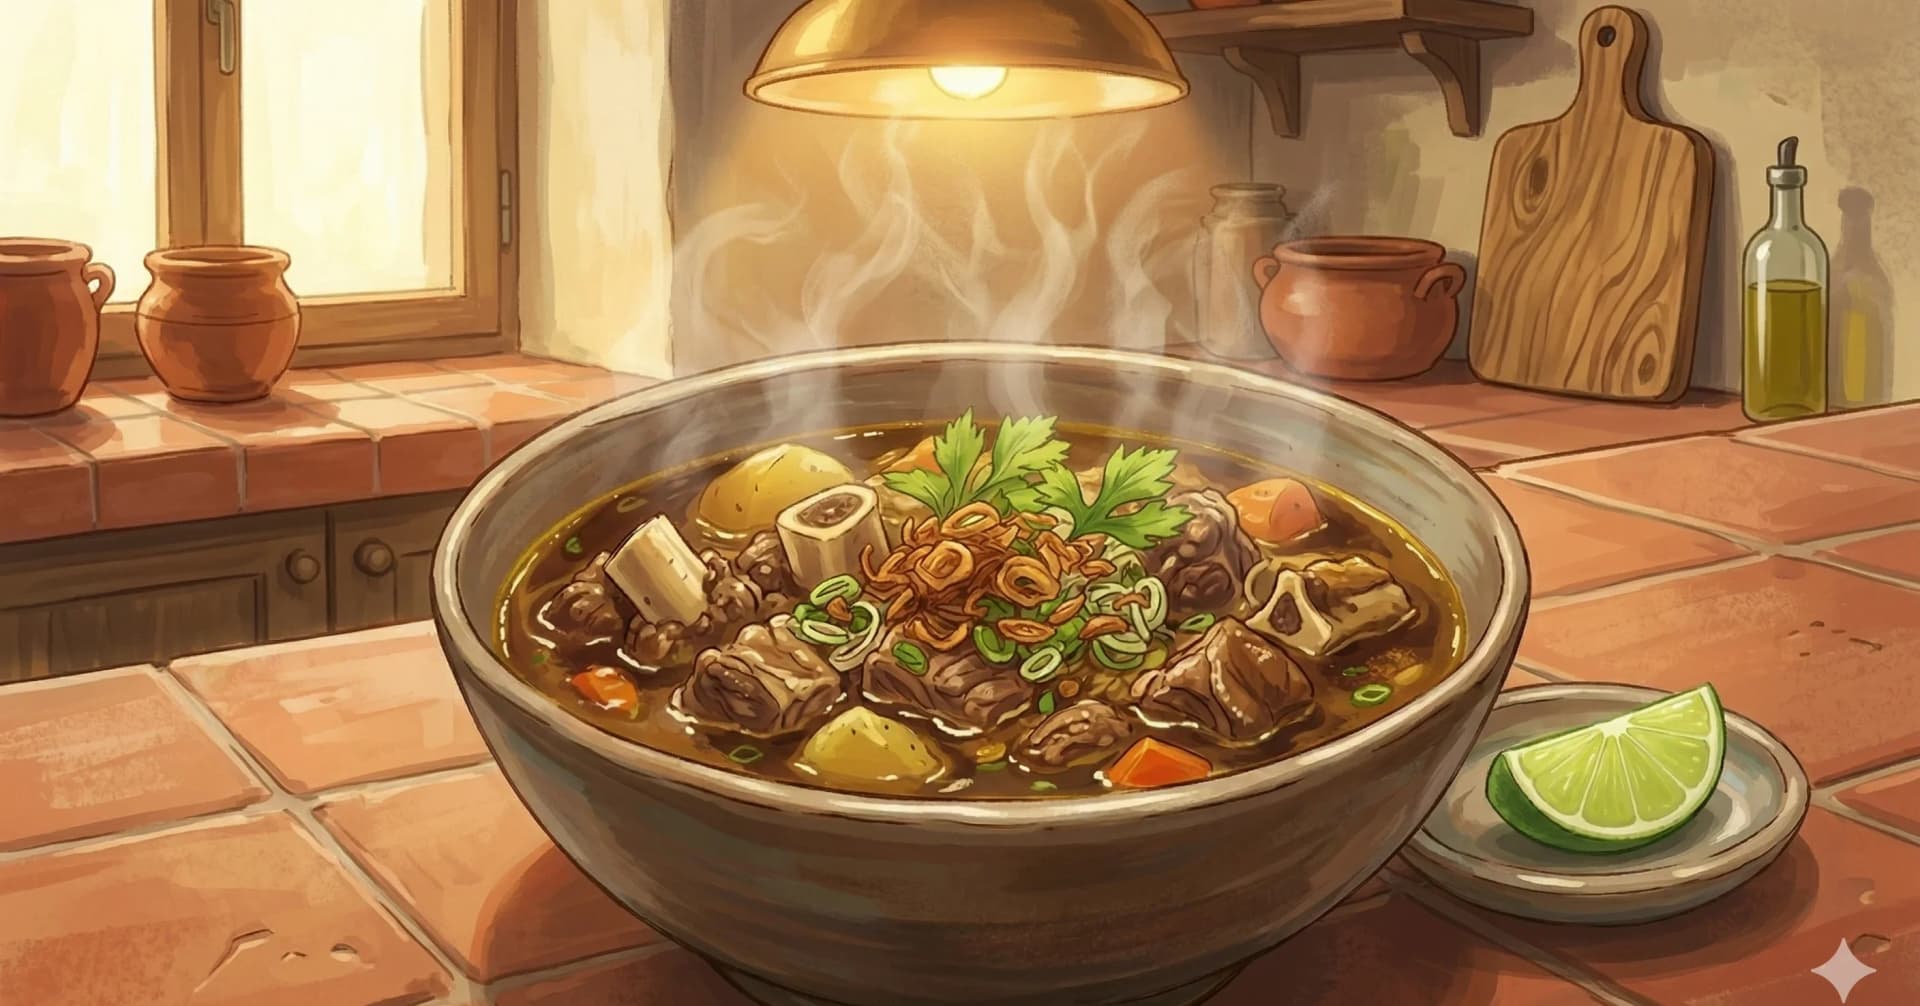
Roti canai is the cornerstone of a Malaysian mamak breakfast. Serve it with a bowl of warm dhal curry for dipping, the lentils cooked until creamy with turmeric, cumin, and a tempering of mustard seeds and curry leaves. Add a saucer of sambal on the side for those who want heat with their bread.
For a fuller mamak spread, pair roti canai with nasi lemak and a glass of teh tarik (pulled milk tea) for the full Malaysian breakfast experience. The coconut-scented rice, the flaky bread, and the sweet, frothy tea together represent one of the most satisfying morning meals in Southeast Asia.
Roti canai also works beautifully as an accompaniment to richer Malaysian curries like chicken rendang or gulai ayam, where the bread soaks up the thick, spiced gravy.
Storage & Reheating
Refrigerator: Cooked roti canai can be stored in a sealed container for up to 2 days, though the crispness will be lost. Reheat in a hot, dry skillet to restore some of the surface texture.
Freezer: Uncooked, shaped roti (after folding but before cooking) freeze well. Layer them between sheets of parchment paper and seal in a freezer bag. Freeze for up to 2 months. Cook directly from frozen, adding an extra minute per side.
Dough balls: The oiled, rested dough balls can be refrigerated for up to 24 hours before stretching. This makes morning roti practical if you prepare the dough the night before.
Reheating: A hot, dry skillet or griddle is the best reheating method. Give each side about 1 minute over medium-high heat. Avoid the microwave, which makes the bread rubbery.
Cultural Notes
Roti canai belongs to the Indian-Muslim (mamak) food tradition that has shaped Malaysian street food for over a century. The dish descends from the South Indian paratha tradition, brought to British Malaya by Tamil-Muslim immigrants from southern India who arrived in the late 19th and early 20th centuries to work as laborers, traders, and shopkeepers. The Malaysian word canai most likely derives from Chennai, the South Indian city (formerly Madras) that many of these immigrants came from, though some linguists trace the word to the Malay verb canai, "to roll out thin." Either way, the dish's Indian roots are unmistakable in both technique and ingredients.
The signature technique (flinging and stretching the dough in dramatic open-air arcs until it becomes paper-thin, then folding it into layered packets and grilling it on a hot griddle) is the dish's sensory spectacle. Skilled roti canai cooks (almost always male, almost always working at mamak stalls open from 6 AM to 2 AM) can stretch the dough to roughly a meter across in a single dramatic motion. It is a piece of culinary theater, and one of the most photographed scenes in Malaysian food media. The technique takes years of practice and is jealously guarded within mamak restaurant lineages.
The dish has become so culturally central in Malaysia that "going for roti canai" is shorthand for casual social eating across ethnic, religious, and class lines. Mamak restaurants serving roti canai are open longer than virtually any other Malaysian dining establishment, often 24 hours, and serve as the de facto neighborhood gathering point at all hours. The standard accompaniments are dhal (lentil curry), kari ayam (chicken curry), and kari ikan (fish curry), with diners typically tearing off pieces of the warm roti to dip into all three. Sweet variations like roti tisu (extra-thin "tissue" roti with sugar), roti pisang (with sliced banana), and roti telur (with egg) extend the range. Many international Malaysians cite roti canai specifically as the dish they most miss when living abroad.
Nutrition Facts
Calories: 530kcal (27%)|Total Carbohydrates: 76g (28%)|Protein: 12.5g (25%)|Total Fat: 19.8g (25%)|Saturated Fat: 11.2g (56%)|Cholesterol: 90mg (30%)|Sodium: 515mg (22%)|Dietary Fiber: 2.7g (10%)|Total Sugars: 7.5g
You Might Also Like


Ratings & Comments
Ratings & Comments
Ratings
Share your thoughts on this recipe.
Sign in to rate and comment