Japanese Cuisine
Tamagoyaki (Japanese Rolled Omelette)
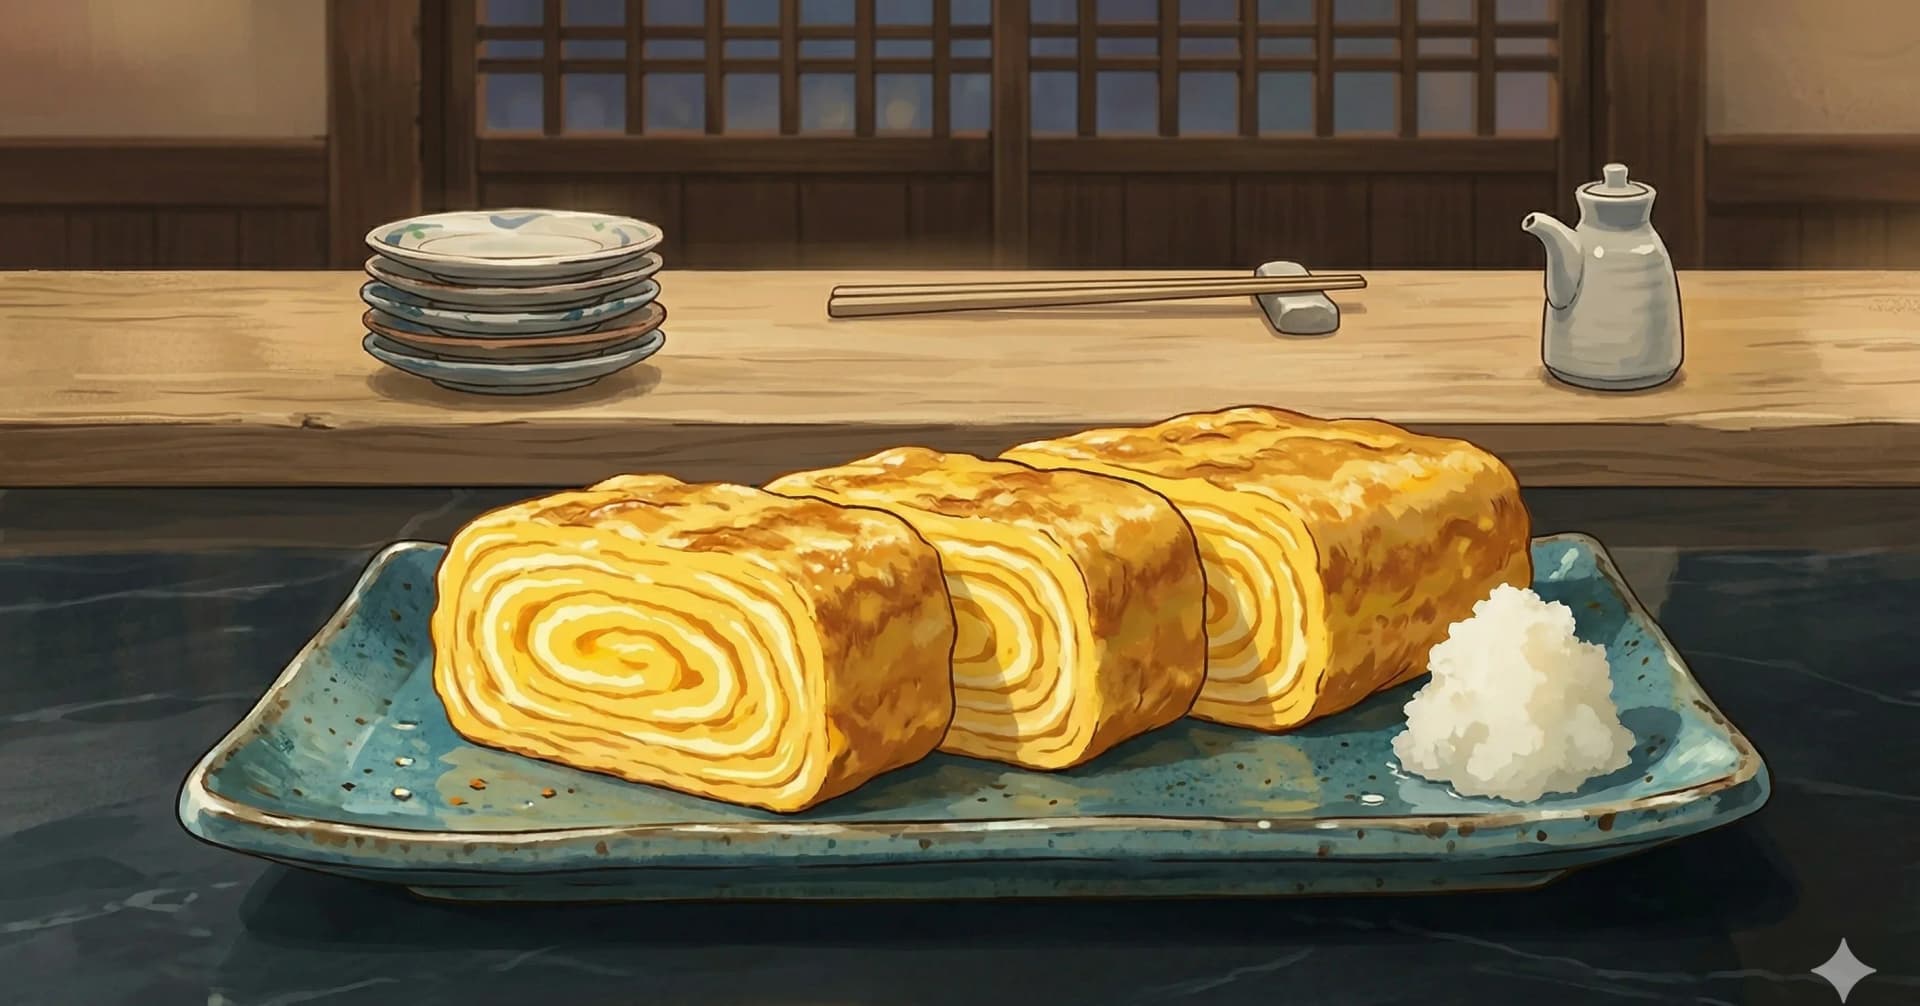
A sweet, layered egg roll built one thin sheet at a time in a rectangular pan, silky inside with a faintly caramelized surface
Cut a slice of well-made tamagoyaki and hold it up to the light. You will see the layers, concentric rings of pale yellow egg rolled one on top of the other, each as thin as a crepe, compressed together into a tender, bouncy rectangle. The taste is gentle: sweet from sugar, savory from dashi and soy, with a richness that comes from nothing more than good eggs cooked with care. It is the kind of food that seems impossibly simple and yet requires real skill to execute well.
Tamagoyaki is one of the foundational techniques of Japanese home cooking and professional sushi-making alike. At sushi counters, the quality of the tamagoyaki is considered a measure of the chef's ability, because the technique is exposed and unforgiving. There is nowhere to hide an uneven layer, a torn sheet, or an over-browned surface. At home, the stakes are lower, but the method is the same. A thin layer of seasoned egg is poured into a hot rectangular pan, allowed to just barely set, then rolled to one end. Another thin layer is poured beneath the roll, allowed to set, and rolled again. The process repeats until all the egg mixture is used, building a log of concentric layers.
The flavor varies by region. In the Kanto region (Tokyo and surroundings), tamagoyaki is noticeably sweet, seasoned with sugar and mirin. In the Kansai region (Osaka, Kyoto), it leans savory, with more dashi and less sugar. This recipe follows the Kanto tradition, which is the more widely known style outside Japan. The dashi in the batter keeps the egg moist and custardy rather than rubbery, a common problem with Western-style omelettes that rely on egg alone. A tamagoyaki pan, rectangular and shallow, is the one piece of specialized equipment that makes a real difference. Round pans work in a pinch, but the edges will need trimming.
At a Glance
Yield
2 to 4 servings
Prep
5 minutes
Cook
10 minutes
Total
15 minutes
Difficulty
Medium
Ingredients
Method
- 1
Crack the eggs into a bowl and beat them gently with chopsticks, using a cutting and lifting motion rather than a circular whisk. The goal is to break up the whites and blend them with the yolks without incorporating air. Foamy eggs produce a spongy, bubbly tamagoyaki rather than a smooth, layered one.
- 2
Add the dashi, sugar, mirin, soy sauce, and salt to the eggs. Stir until the sugar dissolves completely. For the smoothest result, strain the mixture through a fine-mesh sieve into a clean bowl or measuring jug with a pour spout. This removes any chalazae (the stringy bits attached to the yolk) and ensures even layers.
- 3
Prepare an oiled paper towel by folding a paper towel into a small pad, soaking it lightly with oil, and placing it on a small plate beside the stove. You will use this to re-oil the pan between layers. Have your chopsticks or a thin spatula ready.
- 4
Heat the tamagoyaki pan over medium heat. Brush the entire surface with oil using the prepared paper towel. The pan is ready when a small drop of egg mixture sizzles gently on contact but does not brown instantly. If it browns immediately, the pan is too hot; reduce the heat.
- 5
Pour a thin layer of egg mixture into the pan, just enough to coat the bottom in a sheet about 2 mm thick. Tilt the pan to spread the egg evenly across the surface. If any large bubbles form, pop them with your chopsticks.
- 6
When the egg is about two-thirds set, still slightly wet on the surface but firm enough to hold together, begin rolling it toward you from the far end of the pan. Use chopsticks to lift the edge and fold it over, then continue rolling in one smooth motion until you have a compact roll sitting at the near edge of the pan. The roll does not need to be perfect. It will compress and smooth out with subsequent layers.
- 7
Push the roll to the far end of the pan. Brush the exposed pan surface with oil using the paper towel. Pour another thin layer of egg mixture into the pan, lifting the existing roll slightly so the new egg flows underneath it. This creates the bond between layers.
- 8
When this layer is two-thirds set, roll the existing log back toward you, picking up the new layer as you go. The new layer wraps around the outside of the existing roll, adding another concentric ring.
- 9
Repeat steps 7 and 8 until all the egg mixture is used, typically 4 to 5 more layers. Each layer builds on the previous one, and the roll grows larger with each addition. Maintain medium-low heat throughout. If the pan gets too hot and the egg browns before it is set enough to roll, reduce the heat.
- 10
When the final layer is rolled, press the roll gently against the sides of the rectangular pan to shape it into a neat rectangle. Let it cook for another 15 to 20 seconds on each side, pressing lightly with the spatula or chopsticks to compact the layers and develop a faint golden color on the surface.
- 11
Remove the tamagoyaki from the pan and let it rest on a cutting board for 2 to 3 minutes. For a more refined shape, wrap it immediately in a bamboo sushi mat (makisu) and press gently while it cools. This compresses the layers and gives it a perfectly rectangular cross-section.
- 12
Slice the tamagoyaki into 2 cm thick rounds with a sharp knife. The cross-section should reveal the concentric layers clearly. Serve at room temperature or warm, with grated daikon and a small dish of soy sauce on the side.
Key Ingredient Benefits
Eggs provide all nine essential amino acids, making them a complete protein source. They are also one of the richest dietary sources of choline, which research suggests supports brain health and liver function. The lutein and zeaxanthin in egg yolks are carotenoids associated with eye health. Dashi adds umami and trace minerals from the kombu without significant calories. The sugar content in this Kanto-style recipe is moderate; those watching sugar intake can reduce it by half or switch to the savory Kansai-style preparation.
Why This Works
The dashi in the egg mixture serves a critical function beyond flavor. It adds moisture that turns to steam during cooking, keeping the interior of the tamagoyaki soft and custardy rather than dry and rubbery. This extra moisture is also why the technique requires practice: the egg mixture is thinner and more liquid than a plain beaten egg, which makes it more prone to tearing during rolling. As skill develops, the dashi can be increased for an even more delicate, jiggly texture, which is the hallmark of sushi-counter tamagoyaki.
Sugar caramelizes slightly on the pan surface, contributing the faint golden color and a subtle sweetness that permeates each layer. It also helps the egg set more firmly, which paradoxically makes rolling easier despite the added dashi moisture. The combination of sugar for structure and dashi for tenderness is what gives tamagoyaki its distinctive texture, firm enough to slice cleanly but soft enough to melt on the tongue.
Rolling the egg in thin layers rather than cooking it all at once serves two purposes. First, thin layers cook evenly and quickly, preventing overcooking. Second, the layered structure creates the visual beauty of the cross-section and traps tiny pockets of air and moisture between the layers that contribute to the bouncy, yielding texture.
Substitutions & Variations
- Kansai style (savory): Reduce the sugar to 5 g and increase the dashi to 60 ml. Omit the mirin. Add an extra pinch of salt. The result is a more delicate, savory omelette that pairs beautifully with rice.
- Dashimaki tamago: The sushi-restaurant version uses significantly more dashi (up to 90 ml for 4 eggs), producing an extremely soft, almost pudding-like texture. This version requires a well-seasoned pan and considerable skill.
- Pan substitution: A small non-stick round skillet works but produces a cylindrical roll. Trim the rounded edges for a neater presentation.
- Fillings: Roll in finely chopped scallions, shredded nori, mentaiko (spicy cod roe), or small pieces of cheese for variation.
- Shrimp tamagoyaki: Blend 50 g cooked shrimp into the egg mixture before straining for a pink-tinted, seafood-flavored version.
- Nori tamagoyaki: Lay a sheet of nori on each layer before rolling for a striking green spiral in the cross-section.
Serving Suggestions
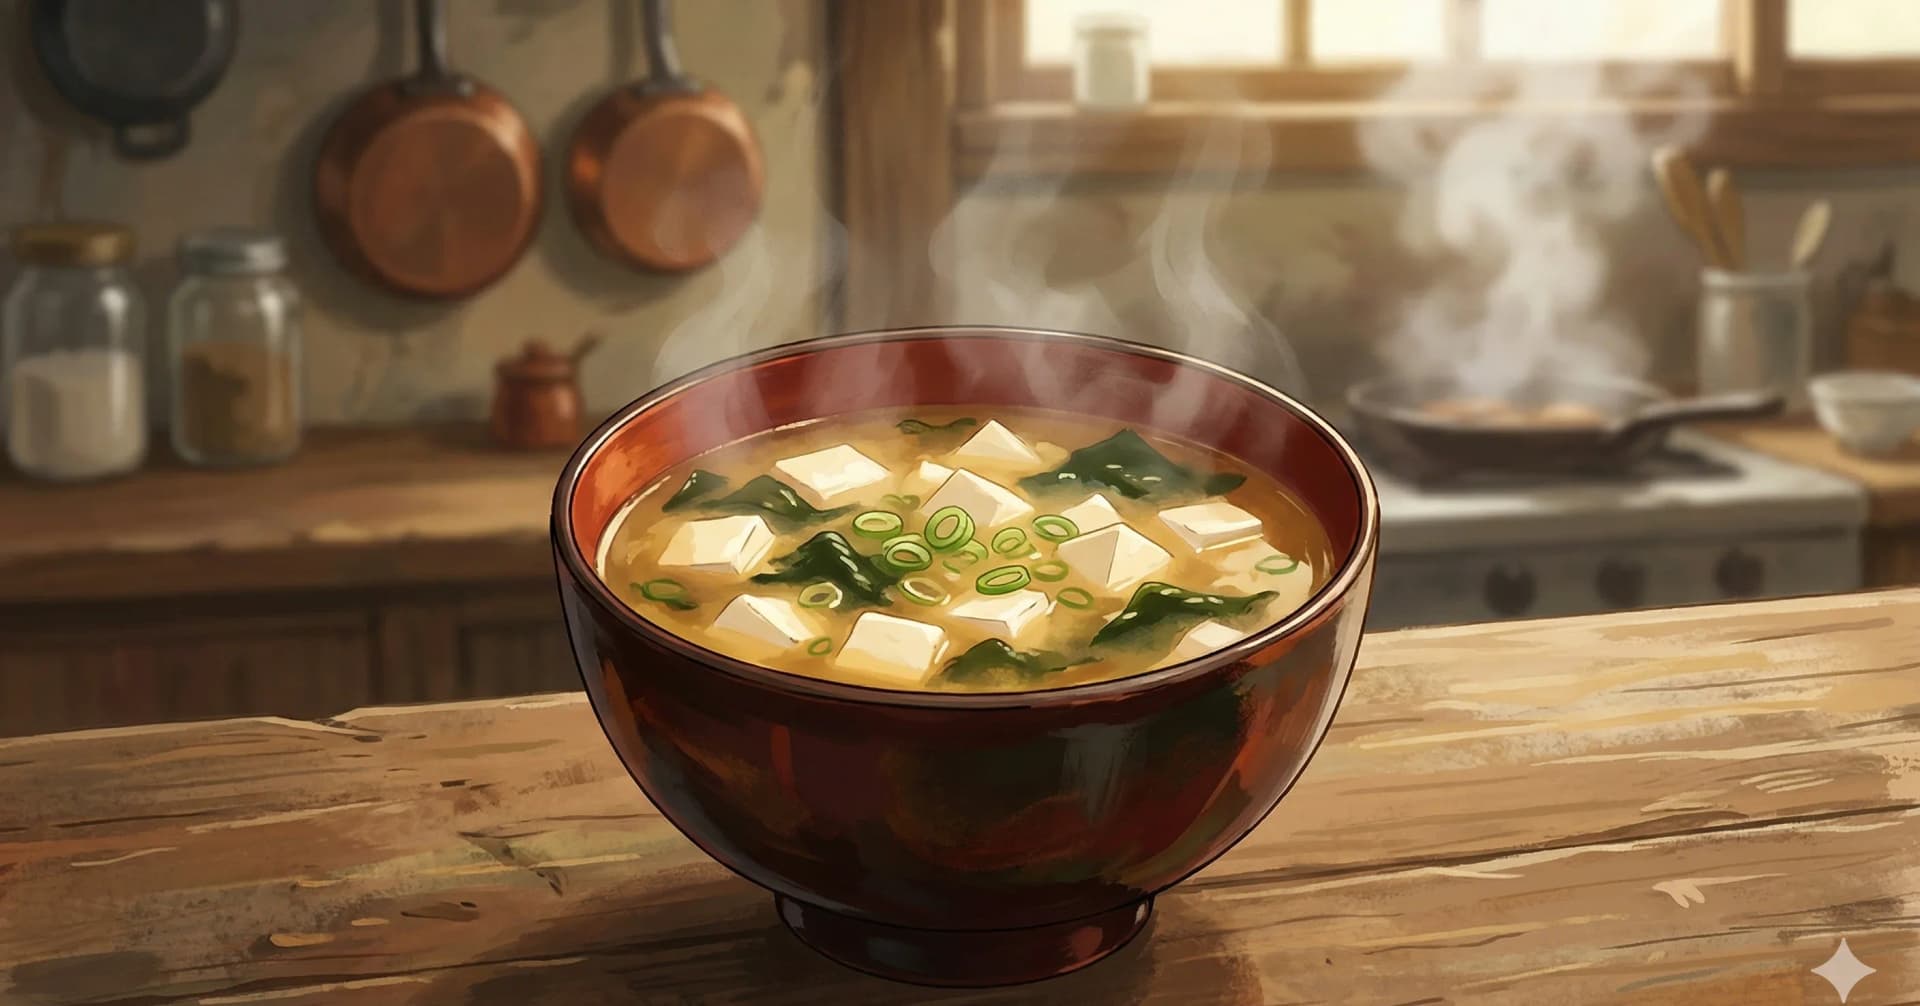
Tamagoyaki appears in nearly every Japanese meal context. It is a standard component of bento boxes, served at room temperature alongside rice, pickles, and a main protein. It is part of the traditional Japanese breakfast alongside miso soup, grilled fish, and rice. At sushi counters, it is served as nigiri (tamago-zushi) atop a small mound of rice. Sliced tamagoyaki is also a common accompaniment to soba and udon noodle meals. For a simple Japanese breakfast at home, serve it with steamed rice, miso shiru, and a few pickles.
Storage & Reheating
Tamagoyaki stores well in the refrigerator for up to 3 days, wrapped tightly in plastic wrap. It is traditionally served at room temperature, so simply remove it from the refrigerator 15 to 20 minutes before serving. If you prefer it warm, reheat gently in a dry skillet over low heat for 1 to 2 minutes per side, or microwave briefly. It also freezes well: wrap individual portions tightly in plastic wrap, then in a freezer bag. They keep for up to 1 month. Thaw in the refrigerator overnight. Tamagoyaki is one of the standard make-ahead components for bento preparation.
Cultural Notes
Tamagoyaki (玉子焼き), Japanese rolled omelette, is one of the most technically demanding preparations in everyday Japanese home cooking. The dish needs a specialized rectangular pan called makiyakinabe (巻き焼き鍋), precise temperature control, and careful timing. The technique is unusual. You pour a thin layer of seasoned egg into the hot pan, let it partially set, roll it tightly toward you, pour the next layer underneath the existing roll, let that one partially set, roll again. Repeated six to ten times, the result has visible layers when you slice it across.
Two sweetness traditions divide the category. Atsuyaki tamago (厚焼き玉子), "thick-grilled egg," is the sweet version common in Tokyo bento boxes and breakfast trays. It is heavily seasoned with sugar to something almost dessert-like. Dashimaki tamago (出汁巻き玉子), "dashi-rolled egg," is the savory Kyoto and Kansai version that uses serious amounts of dashi in the egg mixture. It comes out more delicate, broth-flavored, with high moisture content, and it is often pressed under a bamboo mat after cooking to release excess liquid. The two are different enough that they could be treated as separate dishes. Most Japanese cooks specialize in one or the other rather than both.
In sushi tradition, tamagoyaki occupies a specific and important position. At a serious sushi restaurant, tamago (玉子) on the menu means tamagoyaki, and the quality of that single item is treated as a reliable marker of the chef's overall technical skill. The reason is simple. Tamagoyaki has almost no margin for error. The egg-to-dashi ratio, the sugar level, the heat control, the rolling technique, the slicing precision all have to be exact. Any flaw shows in the cross-section layers.
Traditional sushi training reflects this. Apprentices produce thousands of tamagoyaki before they are considered competent, and the dish is often the final test before an apprentice is allowed to make sushi for paying customers. Older Japanese sushi connoisseurs will sometimes order tamagoyaki first when they sit down at an unfamiliar sushi counter. It is the cheapest way to find out whether the chef can actually cook.
Nutrition Facts
Calories: 149kcal (7%)|Total Carbohydrates: 6g (2%)|Protein: 9g (18%)|Total Fat: 10g (13%)|Saturated Fat: 3g (15%)|Cholesterol: 248mg (83%)|Sodium: 280mg (12%)|Dietary Fiber: 0g (0%)|Total Sugars: 5g
You Might Also Like


Ratings & Comments
Ratings & Comments
Ratings
Share your thoughts on this recipe.
Sign in to rate and comment